The Ultimate High Protein Ice Cream Recipe
Servings: 4
15 minutes
This post may include affiliate links – thank you for the support
I wanted to create a high protein ice cream recipe that actually tasted like a proper dessert. Something creamy, chocolatey, and genuinely enjoyable. Not just something you eat because it fits your macros.
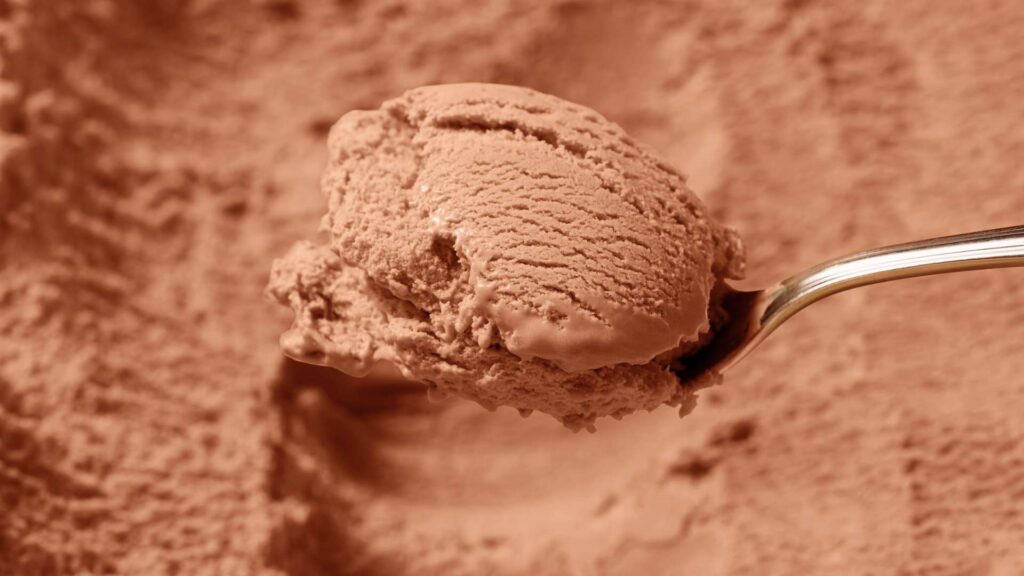
Maybe it’s just me, but I have tried so many high protein ice cream recipes and every single time I’m left a little bit disappointed. They either turn out dry and chalky, weirdly icy, or just… sad and not very flavourful. In some cases, the “ice cream” is literally a rock-solid lump straight from the freezer.
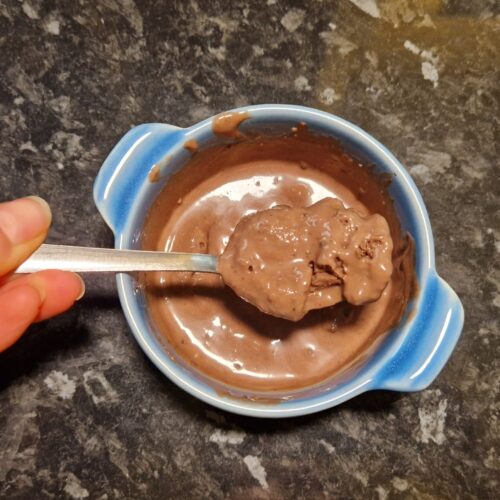
Now, I won’t lie to you. If you leave this in the freezer overnight, it will go pretty solid and you’ll need to leave it out for 10–15 minutes before scooping. But once it softens? It tastes like a Snickers-style dessert, and honestly, I’m calling that a win.
This recipe is also a little bit unusual. In fact, it might be one of the only homemade protein ice cream recipes where ice cream itself is one of the ingredients.
I know what you’re thinking. Adding ice cream to an ice cream recipe kind of defeats the point, right?
But actually, this is exactly what makes it work. I didn’t want to taste the cottage cheese at all.
Most cottage cheese protein ice cream recipes rely on 100% cottage cheese, which almost always leaves a slightly tangy aftertaste, no matter how much sweetener you add. By combining a smaller amount of cottage cheese with ice cream, you still get the protein boost, but the end result is creamy, smooth, and tastes like chocolate and peanuts rather than dairy.
This is why this recipe works so well. You still get to enjoy your favourite dessert while in a calorie deficit, without ruining the texture or flavour. Plus, each serving contains around 13.5g of protein, which I will happily take.
Who this recipe is for: literally anyone looking to increase their protein intake. Gym girls, gym guys, busy people who want sweet treats, or anyone craving dessert while cutting calories. And yes, this is also a protein ice cream recipe without a Ninja Creami.
Why You’ll Love This High Protein Ice Cream Recipe
I’ve been making high protein desserts for years and I genuinely love experimenting with different flavours, textures, and combinations. This recipe might seem a little unusual at first (yes, ice cream is one of the ingredients), but it works so well. The flavour is rich and chocolatey, the texture is creamy rather than icy, and the macros are balanced enough to actually keep you full.
One of my favourite things about this recipe is how simple it is. You don’t need any fancy equipment like a Ninja Creami or even an ice cream maker. This is a protein ice cream recipe without a Ninja Creami, and yet it still tastes like a proper dessert rather than a “healthy alternative”.
It works perfectly as an after-dinner treat, but I’ve also had it post-workout when I want something sweet that still helps me hit my protein target. Plus, it’s easy to customise by switching up the protein powder flavour, the ice cream, or even adding different toppings.
If you enjoy experimenting with high protein recipes but don’t want to sacrifice taste or texture, this one is hard to beat.
I’m officially hooked. Are you?
What Makes This Recipe Different?
Most high protein ice cream recipes follow a similar pattern. Everything gets blended together, frozen solid, and then you’re left trying to eat it before it turns into a block of ice. Sometimes it works, but more often than not the texture is only good for a short window of time.
This recipe still freezes firm if it’s left in the freezer for a few hours or overnight, but that’s completely normal for homemade, high protein ice cream. The difference is in how it softens and how it tastes once it does.
Using a small amount of regular ice cream in the base helps improve the overall texture and mouthfeel once the ice cream is allowed to soften. It doesn’t stop it from freezing, but it does prevent the dry, chalky texture that a lot of protein ice creams tend to have.
The cottage cheese and protein powder still play an important role in boosting protein, but they’re balanced rather than overpowering. By not relying on cottage cheese alone, you avoid the strong tangy aftertaste that many cottage cheese protein ice cream recipes end up with.
The end result is a homemade protein ice cream that’s best enjoyed after a short defrost. Once softened, it’s creamy, rich, and genuinely satisfying, without needing any specialist equipment or complicated methods.
Ingredients You’ll Need
Here’s everything you’ll need to make this high protein ice cream:
This is a cottage cheese protein ice cream base, but it’s balanced with ice cream so you don’t get that tangy aftertaste.
- Chocolate ice cream (use your favourite – a creamy style works best) – This adds extra creaminess to the ice-cream. You can omit this and go 100% cottage cheese if you want even more protein, but the texture may change.
- Cottage cheese this adds extra protein and makes the ice cream a little healthier (I used low fat, but full fat will give an even creamier result)
- Peanut butter (roughly a small spoonful) – This gives it that snickers bar taste we all love. If you prefer it to taste more chocolatey and less nutty, swap for cashew butter.
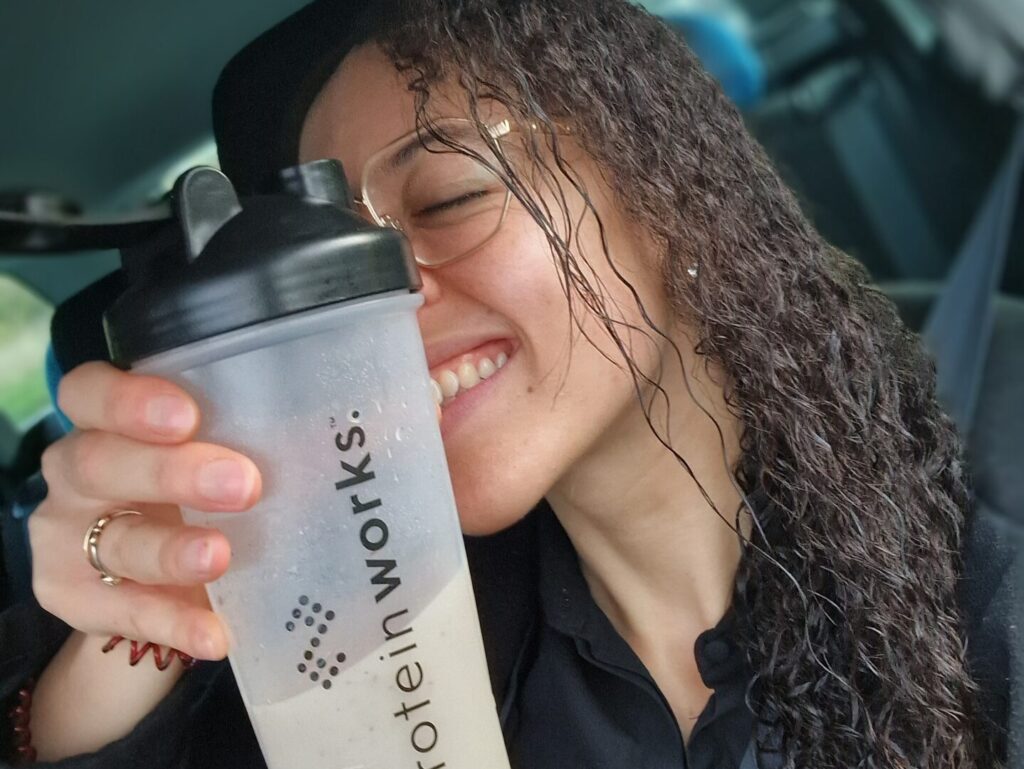
- A small protein bar – I used the Protein Works Chocolate Brownie Boogie Bar, as the size and texture work particularly well in this recipe. Code HANNAHC will get you up to 15% off!
- Chocolate protein powder – For an extra boost of protien, I used Protein Works Chocolate Silk, from Protein Works – you can use code HANNAHC for up to 15% off! But, any good-quality chocolate protein powder will also work.
- Cocoa powder – This just helps to boost the chocolate flavour even more
- A drizzle of honey (optional, to taste) – this adds sweetness and also helps the texture so it doesn’t freeze solid.
- A splash of milk (just enough to help everything blend smoothly)
Exact measurements and full instructions are in the recipe card below.
How to Make This High Protein Ice Cream Recipe
This high protein ice cream recipe is genuinely simple, with just a few easy steps and no fancy equipment required.

Blend the base. Add all of the ingredients except the protein bar to a blender and blend until completely smooth. This usually takes around 1–2 minutes. Blending a little longer helps create a creamier texture, but avoid over-blending and overheating the blender. If needed, stop every 30 seconds to give it a break. Stop to scrape down the sides if needed.

Transfer and mix. Pour the blended mixture into your chosen container. This doesn’t need to be anything fancy – I used a simple plastic takeaway container. Chop the protein bar into small pieces and stir it through evenly.
Freeze. Place the container in the freezer for around 2 hours.
Scoop and enjoy. Once frozen, scoop and enjoy. If the ice cream has been frozen for longer, allow it to sit out for 10–15 minutes before scooping for the best texture.
That’s it. A creamy, homemade high protein ice cream that tastes like a Snickers-style dessert, with minimal effort.
Texture Tips For Homemade Protein Ice Cream
Because this is a homemade protein ice cream recipe, it will freeze firmer than regular shop-bought ice cream. That’s completely normal and mainly comes down to the lower sugar and fat content compared to traditional ice creams.
The good news is that firmness doesn’t mean a loss of creaminess. Once you leave it out at room temperature for around 10–15 minutes, the texture softens back up and becomes smooth and creamy again.
Hannah’s Tips For The Best High Protein Ice Cream Recipe
Defost a little before scooping: If you’re enjoying leftovers the next day, simply leave it out for 10–15 minutes before scooping, or use the microwave method above.
Use your microwave: It sounds strange but if you don’t want to wait, you can also microwave it for 20–30 seconds. This softens it almost immediately and makes it scoopable straight away. It’s my go-to option when I want an instant ice cream fix.
Store the ice cream in an airtight container: This prevents freezer burn and keeps it fresh. Because it’s frozen, it will remain safe to eat for a long time. For the best texture and flavour, it’s ideal to enjoy it within a few weeks, as homemade protein ice cream can gradually become more icy over time.

Protein & Nutrition Notes
This high protein ice cream is designed to feel like a proper dessert, while still offering a meaningful protein boost. Each serving provides a good amount of protein, making it far more satisfying than a standard sweet treat.
One of the reasons this recipe works so well is the combination of protein and fat. Protein helps with fullness and staying satisfied, while a small amount of fat from the ice cream and peanut butter improves flavour and texture. Together, they create a dessert that actually feels filling, rather than something that leaves you hunting for snacks 10 minutes later.
This balance makes it a great option if you’re trying to increase your protein intake without feeling restricted. It’s especially helpful during a calorie deficit, when cravings tend to be higher and overly “light” desserts just don’t hit the spot.
It’s also a good choice if you’re maintaining your weight, training regularly, or simply looking for a higher-protein dessert to enjoy in the evenings. Instead of cutting out foods you enjoy, this recipe allows you to adapt them in a way that better supports your goals.
At the end of the day, this isn’t about perfection or strict macros. It’s about creating something that tastes good, feels satisfying, and fits realistically into everyday life.
Make This Ice Cream Your Own
One of the best things about this protein ice cream is how easy it is to customise. Once you have the base, the options are wide open.
- Add-ins: Stir through chopped protein bar, chocolate chips, cacao nibs, nuts, or coconut.
- Swirls: Drizzle in peanut butter, nut butter, or a spoon of jam just before freezing.
- Toppings: Finish with chocolate pieces, coconut, chopped nuts, or a few Maltesers for extra fun.
- Make it richer: Swap the milk for a splash of double cream for an even creamier result.
Frequently Asked Questions
High Protein Ice Cream
Equipment
- 1 Blender
Ingredients
- 150 g Your favourite chocolate ice cream
- 150 g Cottage cheese (low fat or full fat)
- 30 g Chocolate Protein Powder I used Protein Works (Code HANNAHC gives you up to 15% off)
- 10 g Peanut butter (roughly 1 tsp)
- 1 tsp Cocoa Powder
- 1 Small protein bar, chopped I used Chocolate Brownie Boogie by Protein Works (Code HANNAHC for a discount)
- 1 tsp Honey (optional – to add sweetness and make it extra creamy)
- Splash of milk To help it blend better
Instructions
- Add the ice cream, cottage cheese, protein powder, peanut butter, cocoa powder, honey and milk to a blender. Blend until completely smooth (around 1–2 minutes).
- Pour the mixture into a freezer-safe container. Chop the protein bar into small pieces and mix through.
- Freeze for around 2 hours for a scoopable texture. If frozen longer, allow to defrost for 10–15 minutes or microwave for 20–30 seconds before serving.
Notes
- Texture note: This ice cream will freeze firmer than regular ice cream due to the lower sugar and fat content. Letting it sit at room temperature for 10–15 minutes brings back a creamy texture.
- Protein powder: Both whey and plant-based protein powders work. Plant proteins may result in a slightly firmer texture once frozen.
- Storage: Store in a sealed container in the freezer for up to 1 month for best quality.
Final Thoughts
I’ll be honest, when I first started testing this I wasn’t convinced it would work. Ice cream in a high protein ice cream recipe feels a bit… backwards. But after a few tweaks, I ended up with something I genuinely look forward to eating.
This is one of those recipes I’ll keep coming back to because it actually feels like a proper dessert, not a “this will do” protein option. It’s creamy, chocolatey, filling, and hits the spot when you want something sweet without turning it into a full-on binge.
I think this proves that high protein desserts don’t have to be dry, icy, or miserable. Sometimes it’s about working smarter with ingredients you already enjoy, rather than trying to completely reinvent the wheel.
If you give this recipe a try, I’d genuinely love to hear what you think or what swaps you make. And if high-protein desserts are your thing, I’ll definitely be sharing more recipes like this in the future.
Be sure to let me know your thoughts by sending me a message on social media using the social buttons below: